ADVICES

Steps for Road Cleat Adjustment
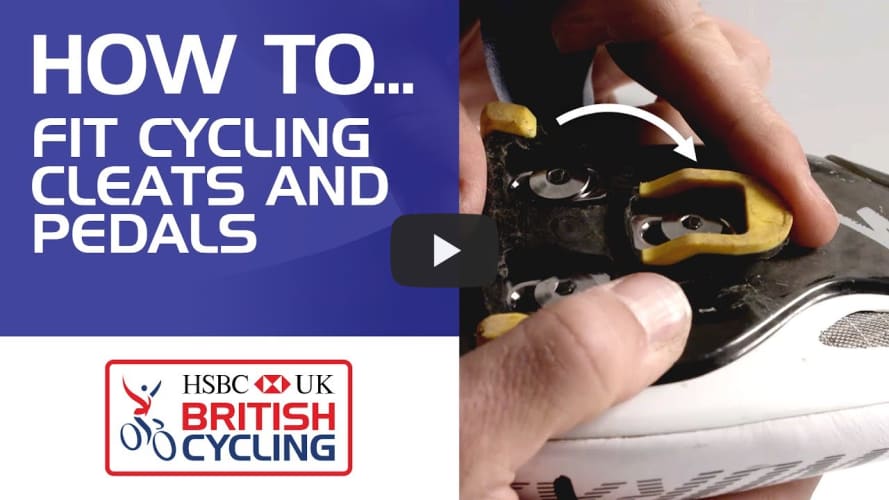
The following video is the best information I found on cleat set up.
Be aware the diagrams are the wrong way round! Switch the 2 and 5 metatarsal diagrams and follow everything else.
The line drawing part in the vid still holds true to find the central cleat position.
Previous attempts at cleat setup
Cleat adjustment has, at times, been my nemesis. A good cleat position can be achieved quite easily as long as there are no other factors in play like injury, tiredness or wrong bike size. On recent purchase of a new road bike, the advice from the shop was - put them in a central position back / forth, side to side and straightforward, then adjust from there.
The advice in the video is great, or you can try:
- Sit on a table with legs hanging off and look for natural position
- Try cleats further back or further forward to see if it better matches your pedalling style
Conclusion
- Adjusting road cleats can be difficult
- Can be achieved with perseverance
- You need to ride to test the position
- Adjust on the roadside
- Try not to get frustrated
- Make small adjustments
- Don’t tighten the bolts tight when you are just trying different positions
- When loosening and tightening the bolts do one at a time a little bit
- Try to follow what feels right, but accept there will be some bedding in process
- Take into account other factors
- If all else fails move to flats
